
Windmill
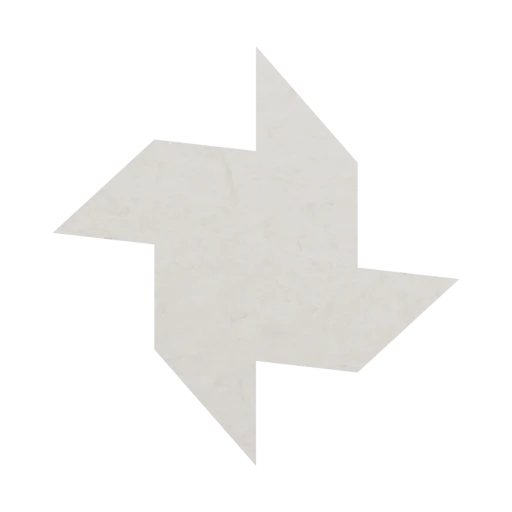
A traditional folded pinwheel with four arms. No pin is needed for this paper study; it is a decorative model rather than a spinning toy.
Before you begin
1 sheet · Square paper
15 × 15 cm
No scissors needed
Start foldingThis lesson is being checked for folding accuracy. It has not yet passed a physical fold-through review.
Step-by-step instructions
Read through the fold before you begin, or open any step in the folding viewer.
Printable guide (opens a new tab)

Find the center
Fold and unfold in half in both directions, then along both diagonals.
Look for: A cross and two diagonals meet at the center.
See this fold
Bring in the corners
Fold all four corners to the center.
Look for: Four triangular flaps meet.
See this fold
Open the square
Unfold all four corners. Keep the guide creases.
Look for: The original square has diagonal corner guides.
See this fold
Fold the side gates
Bring the left and right edges to the center line.
Look for: A tall rectangle has two meeting edges.
See this fold
Fold the top and bottom gates
Bring the top and bottom edges to the center, crease, then reopen those two folds.
Look for: Two horizontal guides cross the tall rectangle.
See this fold
Open the top pockets
At the top, open the two inner corners outward while bringing the top edge down along its guide. Flatten the pockets.
Look for: The top spreads into a boat-like end.
See this fold
Open the bottom pockets
Repeat at the bottom, opening the corners outward and flattening.
Look for: The model has matching boat-like ends.
See this fold
Turn the first arm
Fold the upper-right point upward along its diagonal hinge.
Look for: One arm rises above the center.
See this fold
Turn the opposite arm
Fold the lower-left point downward along its diagonal hinge.
Look for: Four arms turn around a square center.
See this fold