
Place-card stand
Make a small tent easel from one rectangle, with a turned-up lip for a lightweight name card. A4, US Letter, and other ordinary rectangles work without trimming. Add a separate handwritten card only if you want one.
Before you begin
1 sheet · Rectangular paper
21 × 29.7 cm
No scissors needed
Start foldingThis lesson is being checked for folding accuracy. It has not yet passed a physical fold-through review.
Step-by-step instructions
Read through the fold before you begin, or open any step in the folding viewer.
Printable guide (opens a new tab)
Start with a rectangle
Set a rectangle in portrait orientation. Use moderately firm paper. A4 or US Letter needs no trimming; the shown example uses A4 proportions.
Look for: The rectangle is whole, with its shorter edges at the top and bottom.
See this fold
Turn up a holding lip
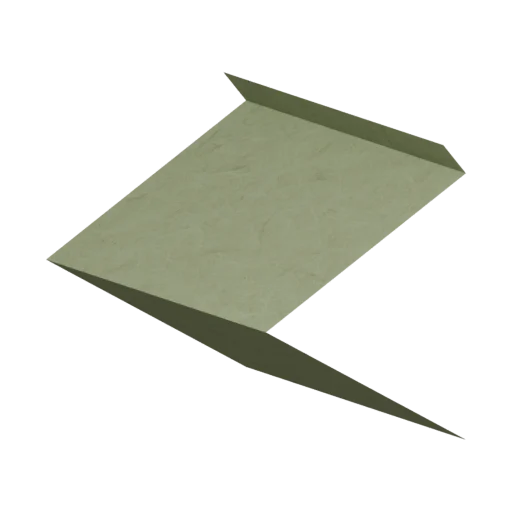
Fold a narrow strip at the bottom away from you, leaving the crease open a little past a right angle. Make the strip about one-fourteenth of the paper's height; it will become the front holding lip when the stand is upright.
Look for: A narrow strip bends away along the bottom edge; the rest of the sheet stays flat.
See this fold
Make the tent crease
Fold the upper edge toward the bottom lip crease. Stop before the two panels lie flat together: leave a wide, open tent angle. The ridge is halfway between the upper edge and the lip crease, slightly above the center of the original sheet.
Look for: The two main panels have equal usable lengths and meet at one open ridge.
See this fold
Stand the tent up
Turn the whole piece so the ridge points up and the two long lower edges rest on the table. The small lip should turn upward on the outside of the front panel.
Look for: The two panels form an open triangular tent, with a shallow upward-facing lip at the front bottom.
See this fold
Check the card ledge
Rest the two lower edges on a flat surface and adjust the tent opening gently. If you add a separate lightweight name card, lean it on the front panel with its lower edge inside the lip. No extra card is needed to finish the folded stand.
Look for: The folded stand has two table-contact edges and a visible front ledge. Adjust it on your own paper before adding a card.
See this fold