
Samurai helmet
The traditional kabuto is a study in symmetry, layers, and small decorative folds. Begin with a generous square.
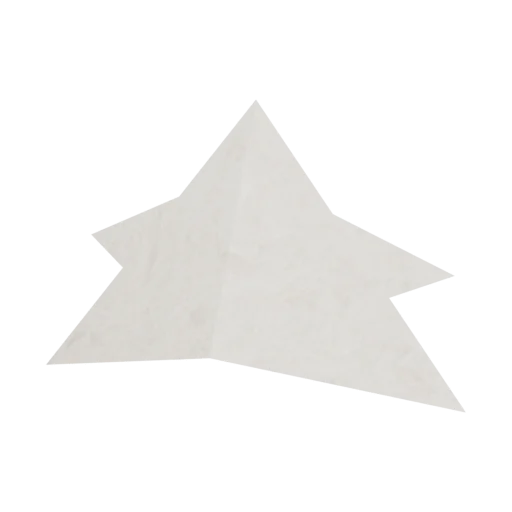
Before you begin
1 sheet · Square paper
15 × 15 cm
No scissors needed
Start foldingThis lesson is being checked for folding accuracy. It has not yet passed a physical fold-through review.
Step-by-step instructions
Read through the fold before you begin, or open any step in the folding viewer.
Printable guide (opens a new tab)
Start on a point
Place your square colored side down with one corner toward you.
Look for: The paper looks like a diamond.
See this fold
Fold a triangle
Bring the top corner down to the bottom corner.
Look for: The long folded edge is at the top.
See this fold
Bring the left corner down
Fold the left corner to the bottom point.
Look for: The left flap follows the center line.
See this fold
Bring the right corner down
Fold the right corner to the bottom point.
Look for: A diamond is formed from two flaps.
See this fold
Lift the left loose point
Fold the uppermost left loose point from the bottom back up to the top.
Look for: A narrow triangular flap points upward.
See this fold
Lift the right loose point
Repeat with the right loose point.
Look for: The two points meet at the top.
See this fold
Spread the first horn
Fold the upper left flap outward on a diagonal.
Look for: A decorative horn points up and left.
See this fold
Spread the other horn
Repeat on the right, matching the angle.
Look for: The two horns are symmetrical.
See this fold
Fold the front brim
Lift the front layer of the bottom point. Fold it upward, stopping a little below the top of the central diamond.
Look for: A narrow strip remains below the folded triangle.
See this fold
Turn up the narrow strip
Fold the narrow band upward along the horizontal center line, at the base of the horns. Keep the large front triangle pointing toward the crown.
Look for: A horizontal brim holds the front fold.
See this fold
Fold the back point behind
Fold the remaining bottom layer backward along the same horizontal line as the brim.
Look for: The loose point is hidden behind the crown and the lower edge is straight.
See this fold
Open gently
Separate the layers at the lower edge to open the helmet.
Look for: The crown opens below its two decorative horns.
See this fold