
Christmas stocking
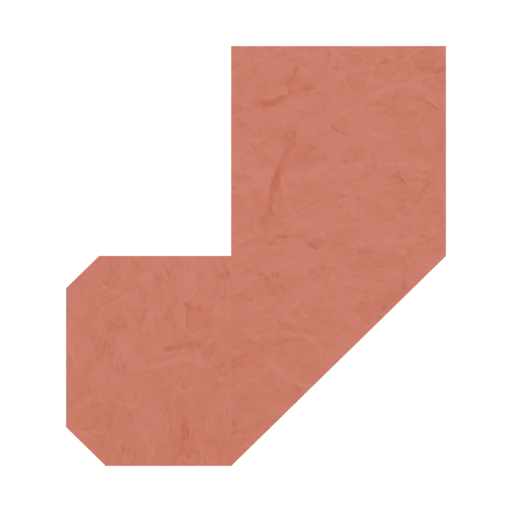
Turn a square into a narrow strip, fold out the foot, then finish a cuff and a softly angled toe. This flat stocking is a decoration rather than a bag or container.
Before you begin
1 sheet · Square paper
15 × 15 cm
No scissors needed
Start foldingThis lesson is being checked for folding accuracy. It has not yet passed a physical fold-through review.
Step-by-step instructions
Read through the fold before you begin, or open any step in the folding viewer.
Printable guide (opens a new tab)
Begin with a square
Place a square flat, with the side you want on the outside facing down. Keep the top and bottom edges horizontal.
Look for: The square is flat and its edges are level.
See this fold
Fold the left half over
Bring the left edge across to meet the right edge. Press the vertical center crease and leave the paper folded.
Look for: You have a tall rectangle half the width of the original square.
See this fold
Narrow the strip
Fold the right-hand portion left along the highlighted vertical line. The flap ends inside the strip; do not bring it all the way to the opposite edge.
Look for: The paper is a narrow, straight strip with its folded flap contained inside the outline.
See this fold
Fold out the foot
Fold the lower section up and toward the left along the highlighted diagonal. Fold all layers together, keeping the upper end still.
Look for: The strip now has a long upper leg and a foot projecting to the left.
See this fold
Turn down the cuff
Fold the narrow top band downward across the highlighted horizontal line. Press through all layers to make a neat cuff.
Look for: A folded cuff sits across the top of the stocking's leg.
See this fold
Soften the lower toe
Fold the tiny lower-left corner behind the foot along the highlighted diagonal. Leave the rest of the foot flat.
Look for: The bottom of the toe has a small angled corner.
See this fold
Soften the upper toe
Fold the tiny upper-left corner behind too. These two small folds round off the otherwise square toe.
Look for: The foot points left and has a softly angled end; the cuff remains at the top.
See this fold
Finish the flat stocking
Press the creases firmly. Use the stocking as a flat holiday decoration or gift tag; it is not an opening pouch.
Look for: The cuff, tall leg, heel, and left-pointing toe are visible, and no paper was cut away.
See this fold