
Autumn leaf
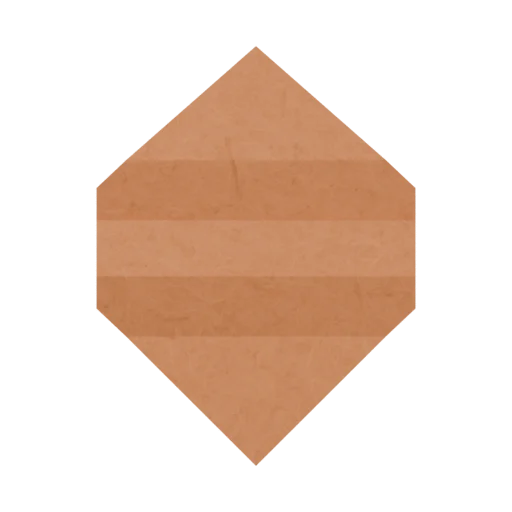
Shape a rectangle into a pointed leaf, then add shallow alternating ridges. The original sheet stays whole: four corner folds form the tapered outline and an open accordion gives the leaf a little depth.
Before you begin
1 sheet · Rectangular paper
21 × 29.7 cm
No scissors needed
Start foldingThis lesson is being checked for folding accuracy. It has not yet passed a physical fold-through review.
Step-by-step instructions
Read through the fold before you begin, or open any step in the folding viewer.
Printable guide (opens a new tab)
Set a rectangle upright
Place your rectangle with its long edges running up and down. A4 or US Letter works; the shown example uses A4 proportions. Keep the front side facing up.
Look for: The whole rectangle is visible in portrait orientation.
See this fold
Taper the upper left
Fold the upper-left corner behind along the sloping crease. Its top edge meets the center of the top edge.
Look for: One sloping shoulder leads toward the top middle point.
See this fold
Taper the upper right
Fold the upper-right corner behind along the matching crease. Match the left side to form a single pointed tip.
Look for: The upper end is a symmetric leaf point.
See this fold
Taper the lower left
Fold the lower-left corner behind along its sloping crease, keeping the upper point in place.
Look for: The lower-left edge slopes inward toward the bottom middle.
See this fold
Taper the lower right
Repeat on the lower right. Flatten the four corner flaps behind the central leaf shape.
Look for: The long leaf has a point at each end and its widest part in the middle.
See this fold
Start a shallow accordion
At the lowest highlighted horizontal crease, bend the upper part slightly toward you. Keep this fold open rather than flattening it.
Look for: The leaf has its first gentle ridge across its width.
See this fold
Fold the next ridge back
At the next crease up, bend the upper part in the opposite direction. Hold the lower ridge so it does not unfold.
Look for: The first two creases make a shallow zigzag when viewed from the side.
See this fold
Continue toward the tip
Make the next two ridges in alternating directions. Keep all four open at roughly the same shallow angle. You can rotate the model to check the side view.
Look for: Four alternating ridges give the pointed leaf a softly corrugated surface. Place it on a table; it is not a maple-leaf model.
See this fold